Three ways to improve your professional location headshot photography
Thinking on his feet, Aaron moved the client into a new room, with a completely different feel for epic results. He had time to spare because of careful planning beforehand. (Photo credit: Ted McDonald)
The Challenge of Shooting On Location
Early in February I had the opportunity to spend time with Allied Productions team and was blown away at the professionalism and skill of the team during the setup for a headshot session and video production shoot. The client was a Bryan Hutchinson, a Grand Rapids artist, who wanted updated headshots to bolster his portfolio after the conclusion of his Master's program at Kendall College of Art and Design (KCAD). Not to waste an opportunity, the Allied team partnered with Experience Live Art, a local art not profit, to capture Bryan's art journey on film.
The plan was pretty straight forward; Aaron would do headshots with the client while the rest of the team was setting up the video cameras and lighting in Bryan's install in the Fed Galleries at KCAD.
I was helping out with the headshot session "standing in" so the team could get the lighting dialed in while we waited for the talent to arrive. Location headshot shoots, by their nature, have a certain element of unpredictability, requiring a different level of thinking on your feet. Always doing studio sessions can be a slippery slope for an artist. It's easy to get in a rut sitting a client in the same chair and clicking away with a lighting configuration that’s already setup. Location headshots provide a host of challenges including managing and adapting to ambient lighting, backgrounds and light sources that are out of your control.
Three ways that you can improve your location headshot photography
1. Set up your lights and test before the talent arrives
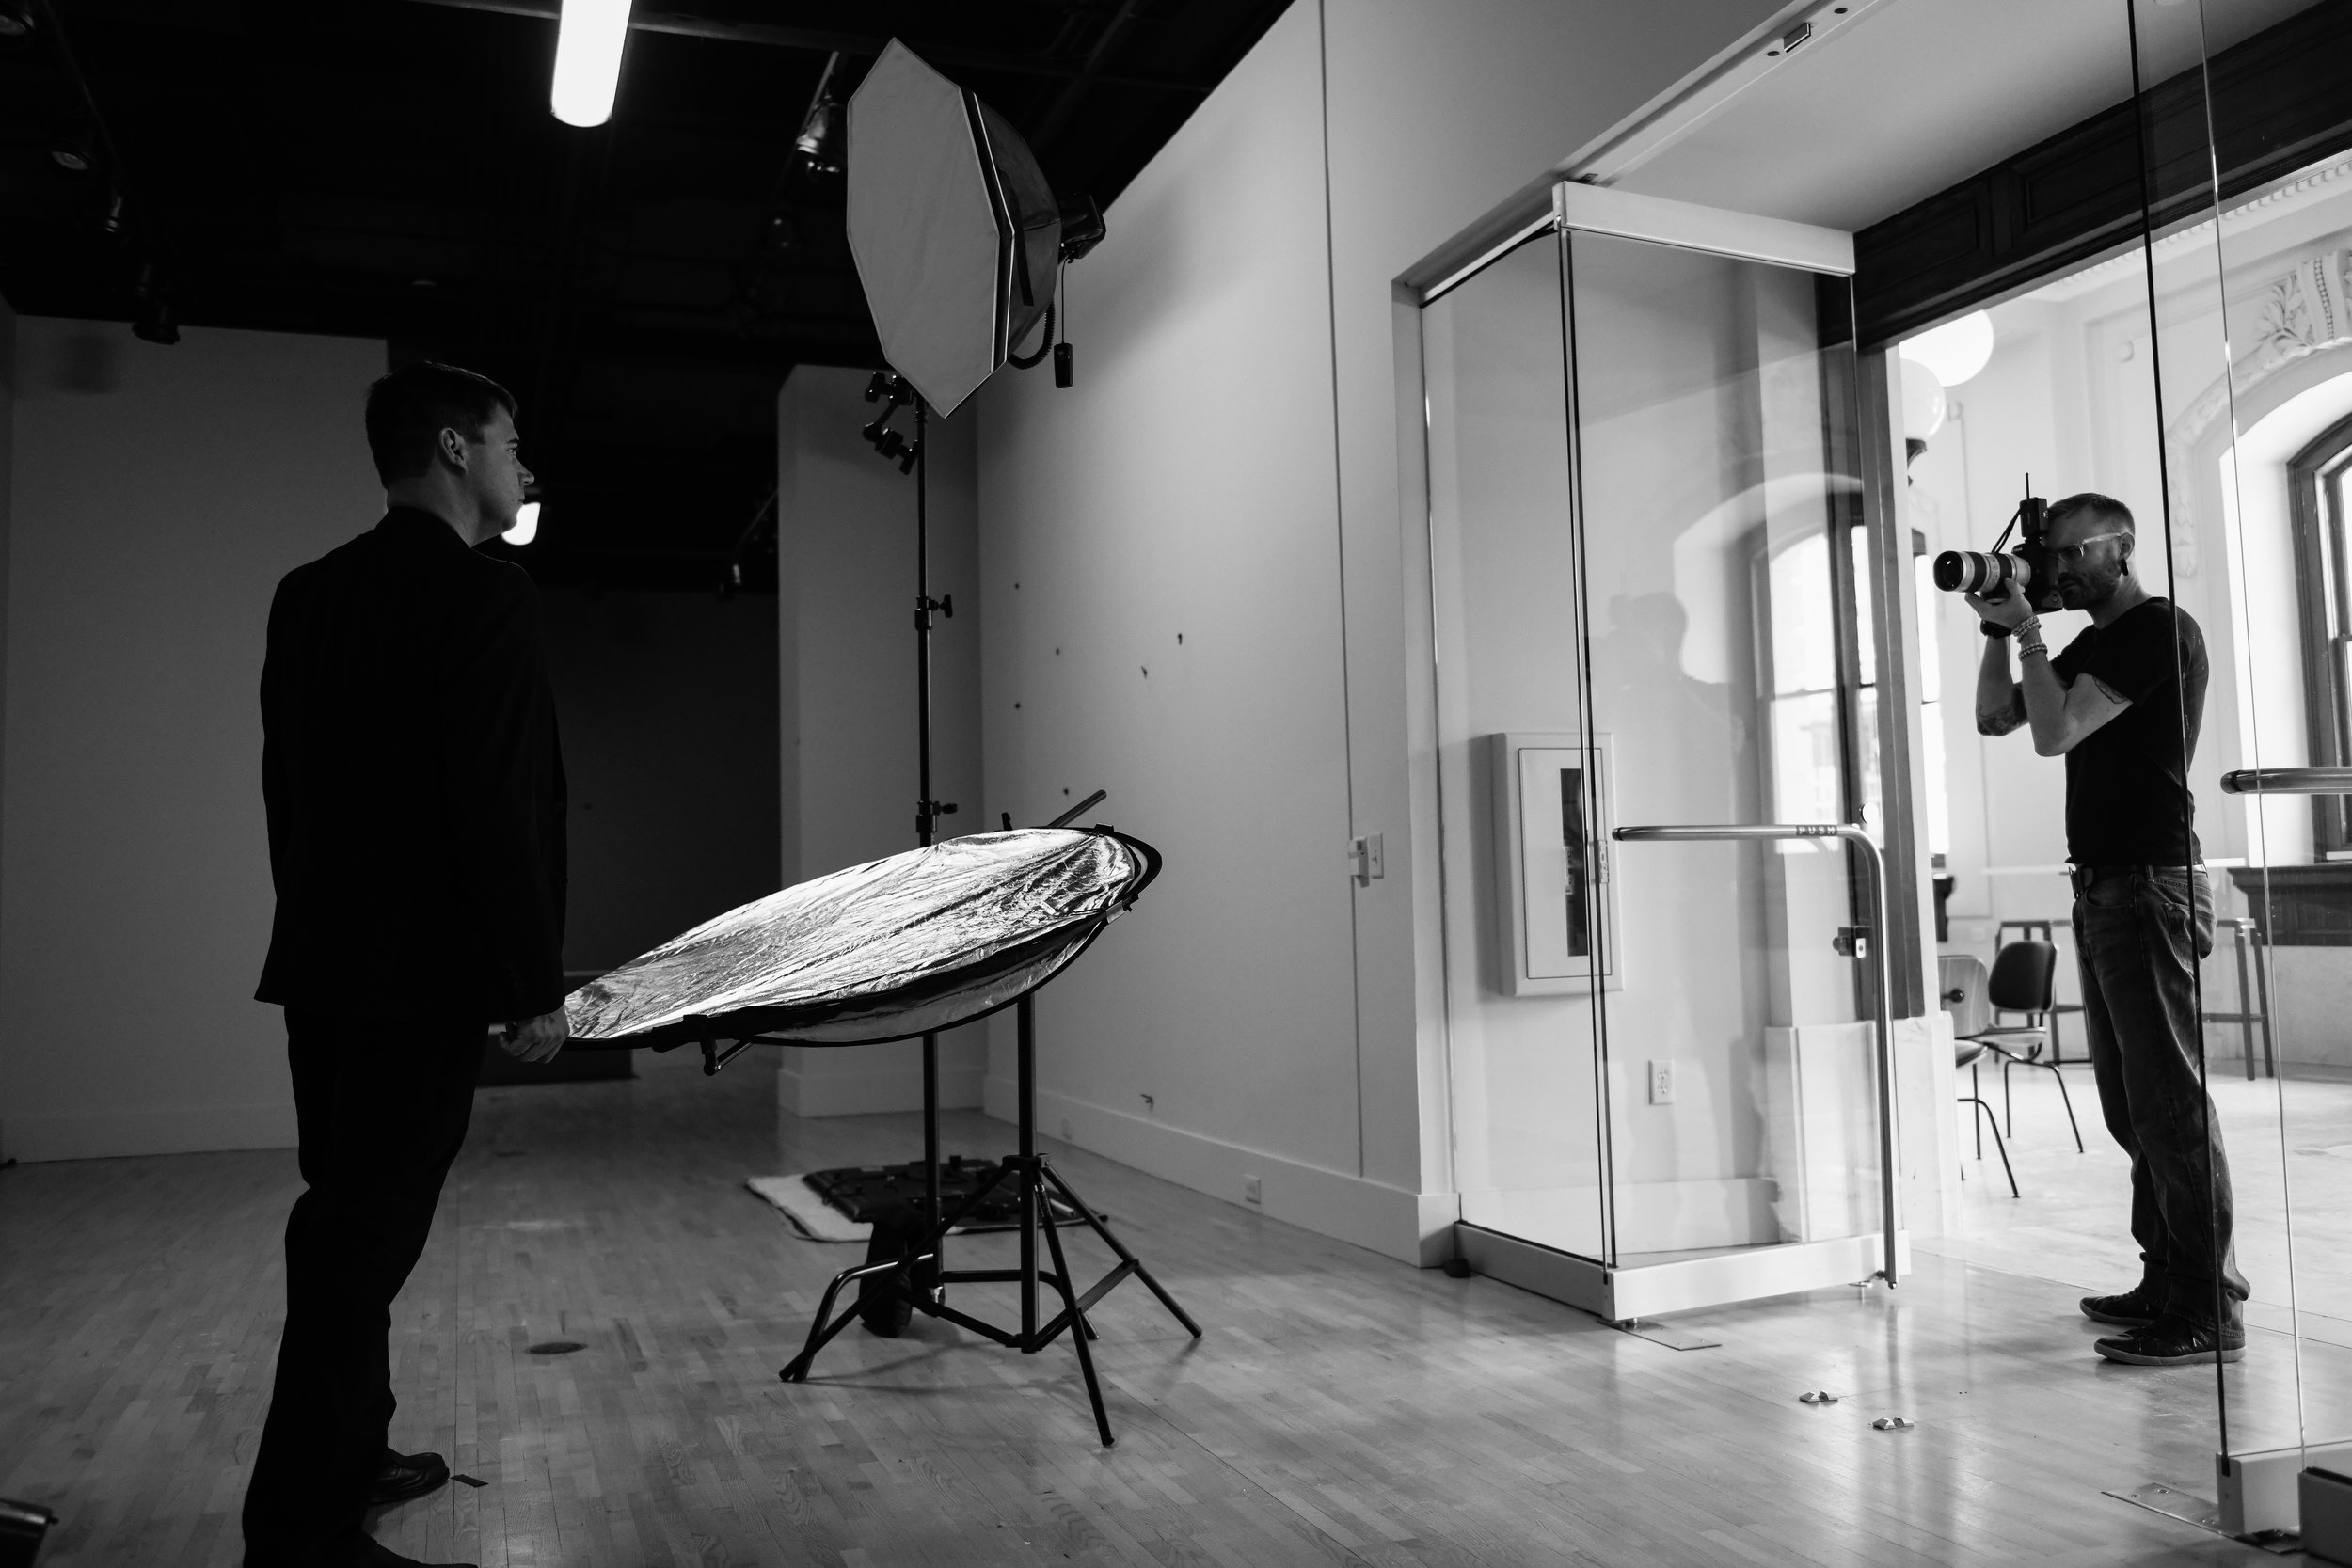
This may seem obvious, but having the lighting set up before hand is great practice. This allows your time to fine tune your lighting so you're not fiddling during the shoot. This gives you more time as a photographer to connect with your client. It’s just as important to get your client to feel comfortable so that you can focus on capturing your clients true personality. You won’t always have a lot of time to chit chat during a session so having all the lighting set at the correct exposures before hand is a must if you’re going to take your headshots to the next level.
A little "shootback" of Aaron testing the lighting setup as I stand-in for the talent. Locking this in saved a ton of time and helped keep the day's schedule on track. (Photo credit: Ted McDonald)
2. Use gaffer tape on the floor to mark your subject and setup
The second thing that I observed was such a simple yet profound trick. Gaffer tape on the floor. If you don’t know about the inverse square law of light then you should check out a couple of tutorials online. The idea is that light and the intensity of light changes and depending on how close the light source is to the subject, inches matter. Having a couple pieces of tape on the floor for your subject to stand on is a perfect way of making sure all the setting on your light configuration is consistent.
Notice the arrows pointing to the Gaffer's tape. These marks help make sure your talent hits their mark, and can help mark off different lighting setups before the shoot to keep transition times to a minimum. (Photo credit: Ted McDonald
3. Always have a backup plan (and backup for the backup plan)
The last way you can improve your location headshot sessions is have a backup plan. Originally the Aaron planned to shoot the client with a darker background during the session. Shooting in a long hallway with strobe flashes lighting the subject would give Aaron control of how dark he could make the background. This would give the scene depth and allow the subject to pop from the background… unless the client shows up in all black! Which he did. Thinking on his feet, Aaron adjusted the lighting setup to allow for the ambient light to come through and while the soft boxes would now only used as fill lighting. Here’s where the backup plan kicked in… After Aaron felt like he had at least 1-2 keepers we moved the lighting gear into a different hallway with a yellow wall. The client wearing black against a lit yellow wall? Oh yes! With a simple two light setup and reflector we were able to dial in the lighting in under 5 minutes with epic results.
Doing location headshots can be tricky, but having a plan and being as prepared as you can will definitely elevate your photography.
By: Ted McDonald


